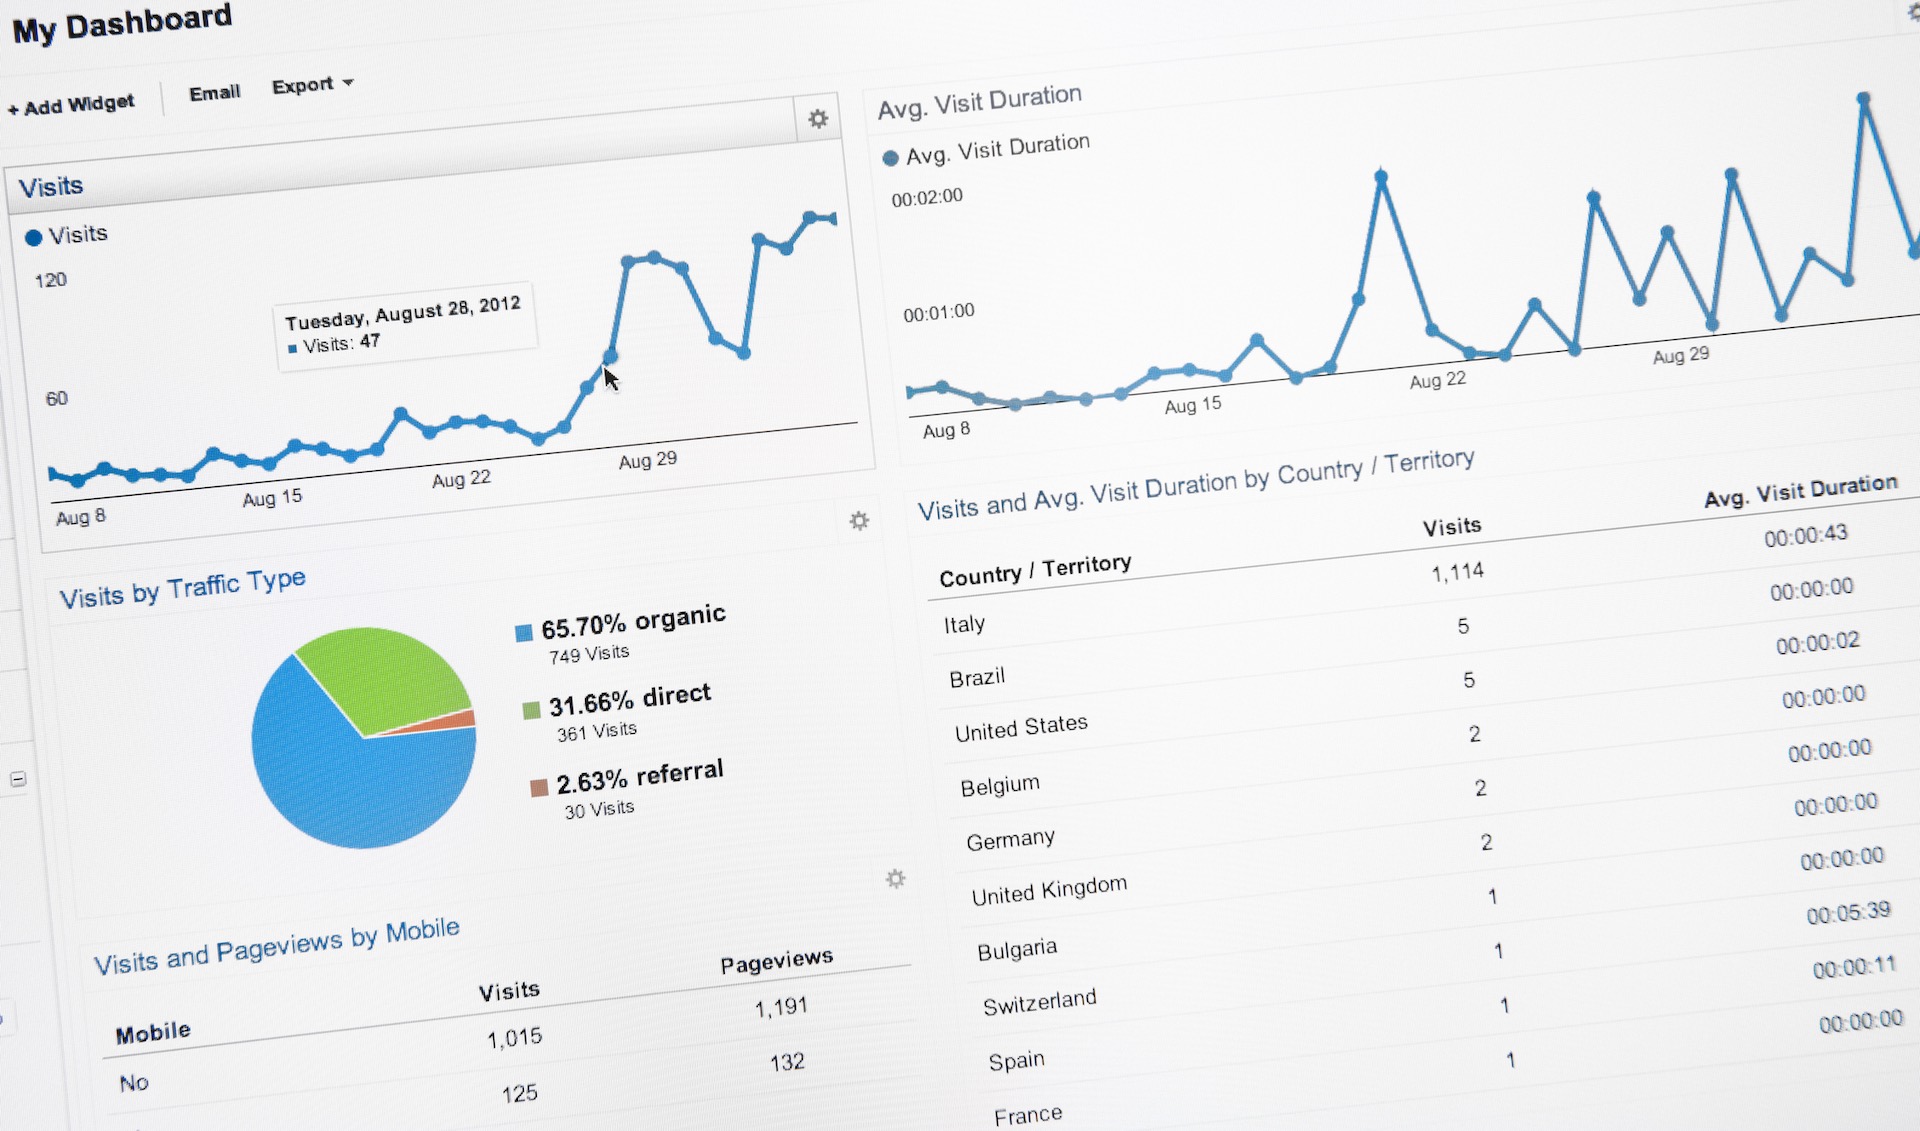
Setting up Google Ads conversion tracking in Shopify is crucial for measuring the success of your store, advertising campaigns and understanding your ROI. In this step-by-step guide, we’ll walk you through the process of setting up Google Ads conversion tracking in your Shopify store, ensuring you can accurately measure the impact of your ad spend.
Step 1. Create Your Conversion in Google Ads
The first step in setting up Google Ads conversion tracking in Shopify is to create your conversion in your Google Ads account. Here’s how to do it:
1. Log in to your Google Ads account.
2. Click on “Tools & Settings” and select “Conversions” under the Measurement section.
3. Click the “+” button to create a new conversion action.
4. Choose the type of conversion you want to track, such as “Purchase.”
5. Configure the conversion settings, including the conversion name and value.
6. Click “Create” to generate the conversion tag.
Step 2. Edit the Google Ads Conversion Code for Shopify and Add All Features
Now that you’ve created your conversion in Google Ads, you need to implement the conversion code in your Shopify store. Follow these steps:
1. In your Google Ads account, click on the newly created conversion action.
2. Select “Tag setup” and choose “Install the tag yourself.”
3. Copy the conversion tracking code.
4. Log in to your Shopify admin panel.
5. Go to “Settings” and click on “Online Store.”
6. Select “Themes” and click on “Actions,” then choose “Edit code.”
7. Locate the theme.liquid file and paste the Google Ads conversion tracking code just before the closing </head> tag.
8. Save the changes.
Step 3. Enable Enhanced Conversions in Google Ads
Enhanced conversions provide valuable data for optimizing your Google Ads campaigns. To enable enhanced conversions:
1. In your Google Ads account, go to the conversion action you created.
2. Click on “Settings” and toggle on the “Enhanced conversions” option.
Step 4. Track Purchases in Shopify on the Post-Purchase Page
To track purchases on the post-purchase page in Shopify, follow these steps:
1. In your Shopify admin panel, go to “Settings” and click on “Checkout.”
2. Under the “Order processing” section, find the “Additional scripts” field.
3. Paste the Google Ads conversion tracking code in the “Additional scripts” field.
4. Save your changes.
How to Test Google Ads Conversion Tracking in Shopify
Testing your conversion tracking is crucial to ensure it’s working correctly. Here’s how to do it:
1. Visit your Shopify store and initiate a test purchase.
2. Complete the purchase process.
3. Check your Google Ads account for the conversion data. It may take a few hours to update.
Alternative: Google Analytics Import
If you prefer to use Google Analytics for tracking conversions, you can import the data into Google Ads. Here’s how:
1. In your Google Ads account, go to “Tools & Settings” and select “Linked accounts.”
2. Click on “Details” in the Google Analytics section.
3. Link your Google Analytics account to your Google Ads account.
4. In your Google Ads account, navigate to “Conversions” and select “Google Analytics.”
5. Import the desired goals or transactions from Google Analytics.
Setting up Google Ads conversion tracking in Shopify is a crucial step to measure the effectiveness of your advertising efforts. Follow these steps to ensure accurate tracking and make data-driven decisions to optimize your campaigns.
Need a specialist E-Commerce and Shopify team to boost your sales, audit your e-commerce store or even check your tracking is right? Get in touch.


